Are you tired of feeling overwhelmed by the number of projects cluttering your Procreate gallery? Look no further! In this article, we will be going over some organizational tips to help you keep your Procreate projects organized and easy to find.
Organizing Projects into Stacks (Folders)
Procreate allows you to organize your projects into stacks, which are similar to folders. To do this, simply tap and hold on any project, then drag it onto another. Pause for a second so the color turns blue, and then release. This will organize the artwork into a folder/stack. Note: You cannot have a stack inside another stack, but you can have multiple projects in a single stack.
Renaming and Deleting Projects
Easily rename a project file by tapping on the project name (below the thumbnail) and typing a new name. To delete a project, simply swipe left on the project thumbnail and press the delete button. It's important to note that if you delete a project there is no way to get it back, so be sure to periodically share your projects to another device for backup.
Exporting Projects
Procreate allows you to export your projects in various formats, such as PNG, Animated GIF, MP4, PSD, and more. To export a project, simply swipe left on the project thumbnail and press the share button. This will open the format window, where you have many options to choose from. You can also choose "select" at the top of the gallery and select multiple projects at once to export.
- When exporting an image, we recommend exporting as PNG, as they will retain a higher quality and be a larger file size than a compressed file.
- For animations, you can export as an Animated GIF or MP4 video file.
- You can also export Procreate project files to share with another Procreate artist, or export as a PSD file to send into the Adobe world.
Importing Files and Photos
Procreate allows you to import files and photos from various sources, such as your iPad, files app, Dropbox, iCloud Drive, and any drives currently connected to your iPad.
- To import files, simply press the "import" button and select the files you want to import
- To access your photos library, press the "photo" button instead of the "import" button. This will allow you to access any photos stored on your iPad photos app.
If you're looking to import brushes, textures, or fonts, you'll have to import them a different way (outlined in this article).
In conclusion, mastering project management in Procreate is crucial in order to keep your projects organized, easily find what you need, and efficiently export and share your work. Remember to take advantage of the organizational features that Procreate offers and make sure to backup your projects regularly. Happy creating!
Organizing Brushes and Textures
You can experiment with different types of Procreate brushes and find what works best for your style.
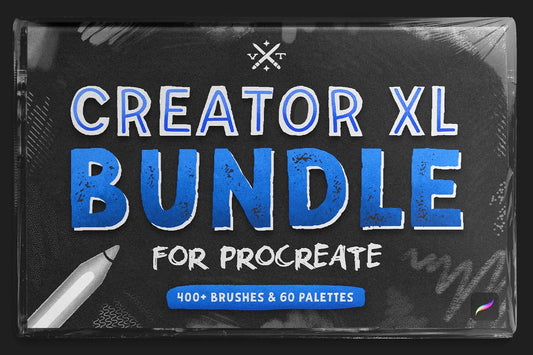
Some brushes, like my Creator XL Bundle, have all the brushes organized neatly into separate folders. This makes it much easier for you to find what you need, when you actually need it.
You can do a similar thing with your own brushes. Make sure to organize them in folders, just like your Procreate project files.
This might not seem important, but it helps a ton in the long run because it will consistently save you time on every project!
Enjoy creating,
Timmy


